Ever since I started teaching yoga there has been one question that I’m most frequently asked and it’s “how can I improve my handstand practice or how can I learn to handstand?” I usually tell people there is no one specific trick or exercise that will give you the ability to pop up into a handstand but there are some exercises and drills that will strengthen the body and help you develop the awareness needed to hold the body upside down. In this post I’ll detail out a few exercises that will help your body develop the strength and muscle memory needed for an inversion practice. Like all things yoga related, inversions and handstand holds depend on your ability to control the breath and calm the mind while pushing the physical limits of your body.
Getting Started
If you’ve spent time practicing yoga or handstands you’ve probably realized that it puts a lot of strain on the wrists. Here are two basic wrist stretches/exercises that will help develop the endurance and strength needed to practice for an extended amount of time.
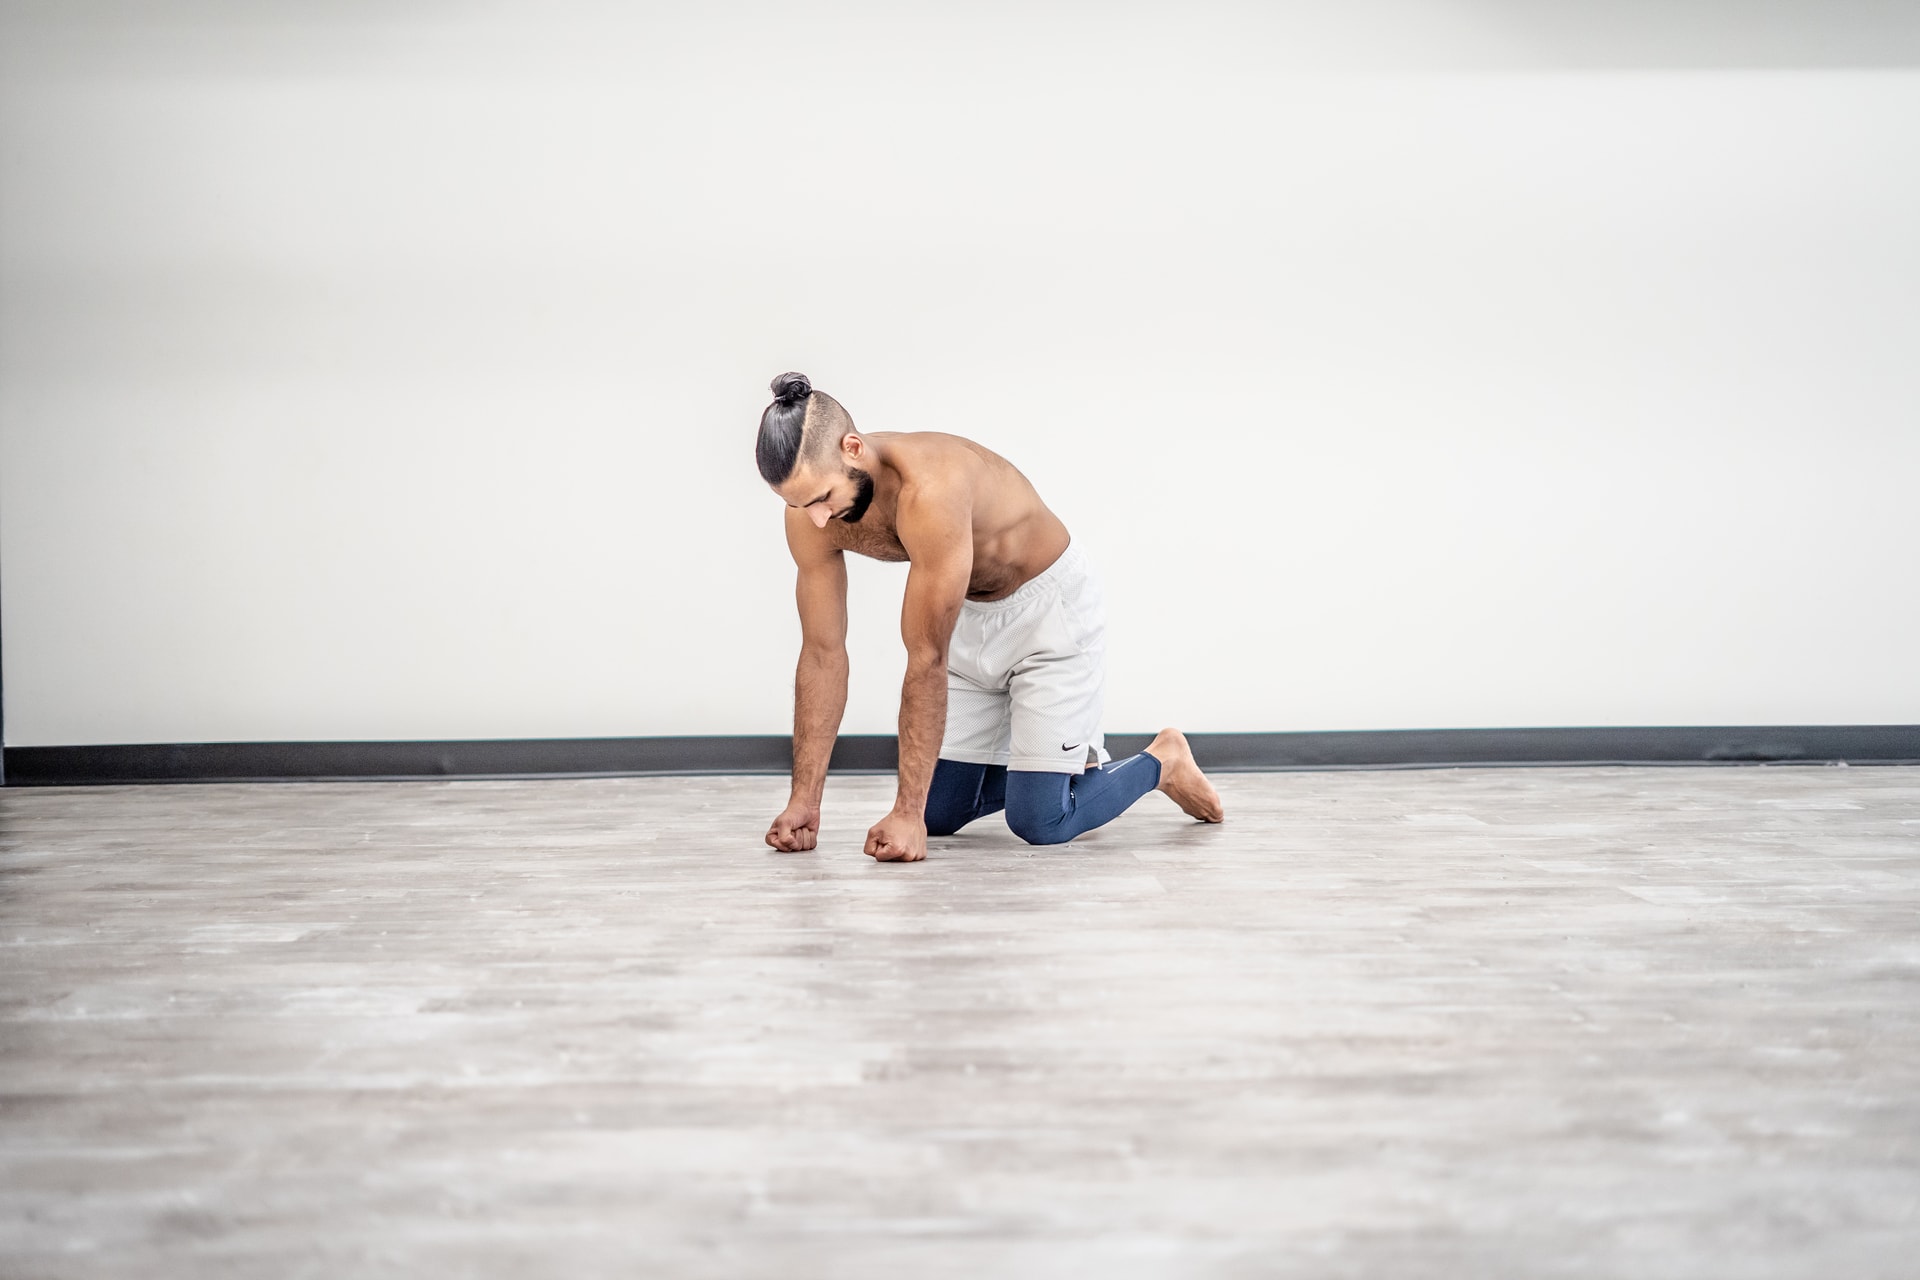
1. Set up in table top position, flip your hands over so your palms are facing up and slowly close the hands into a fist and then slowly open them back out. Repeat this exercise 10-20 times per day and you’ll see a significant improvement in your wrist endurance.
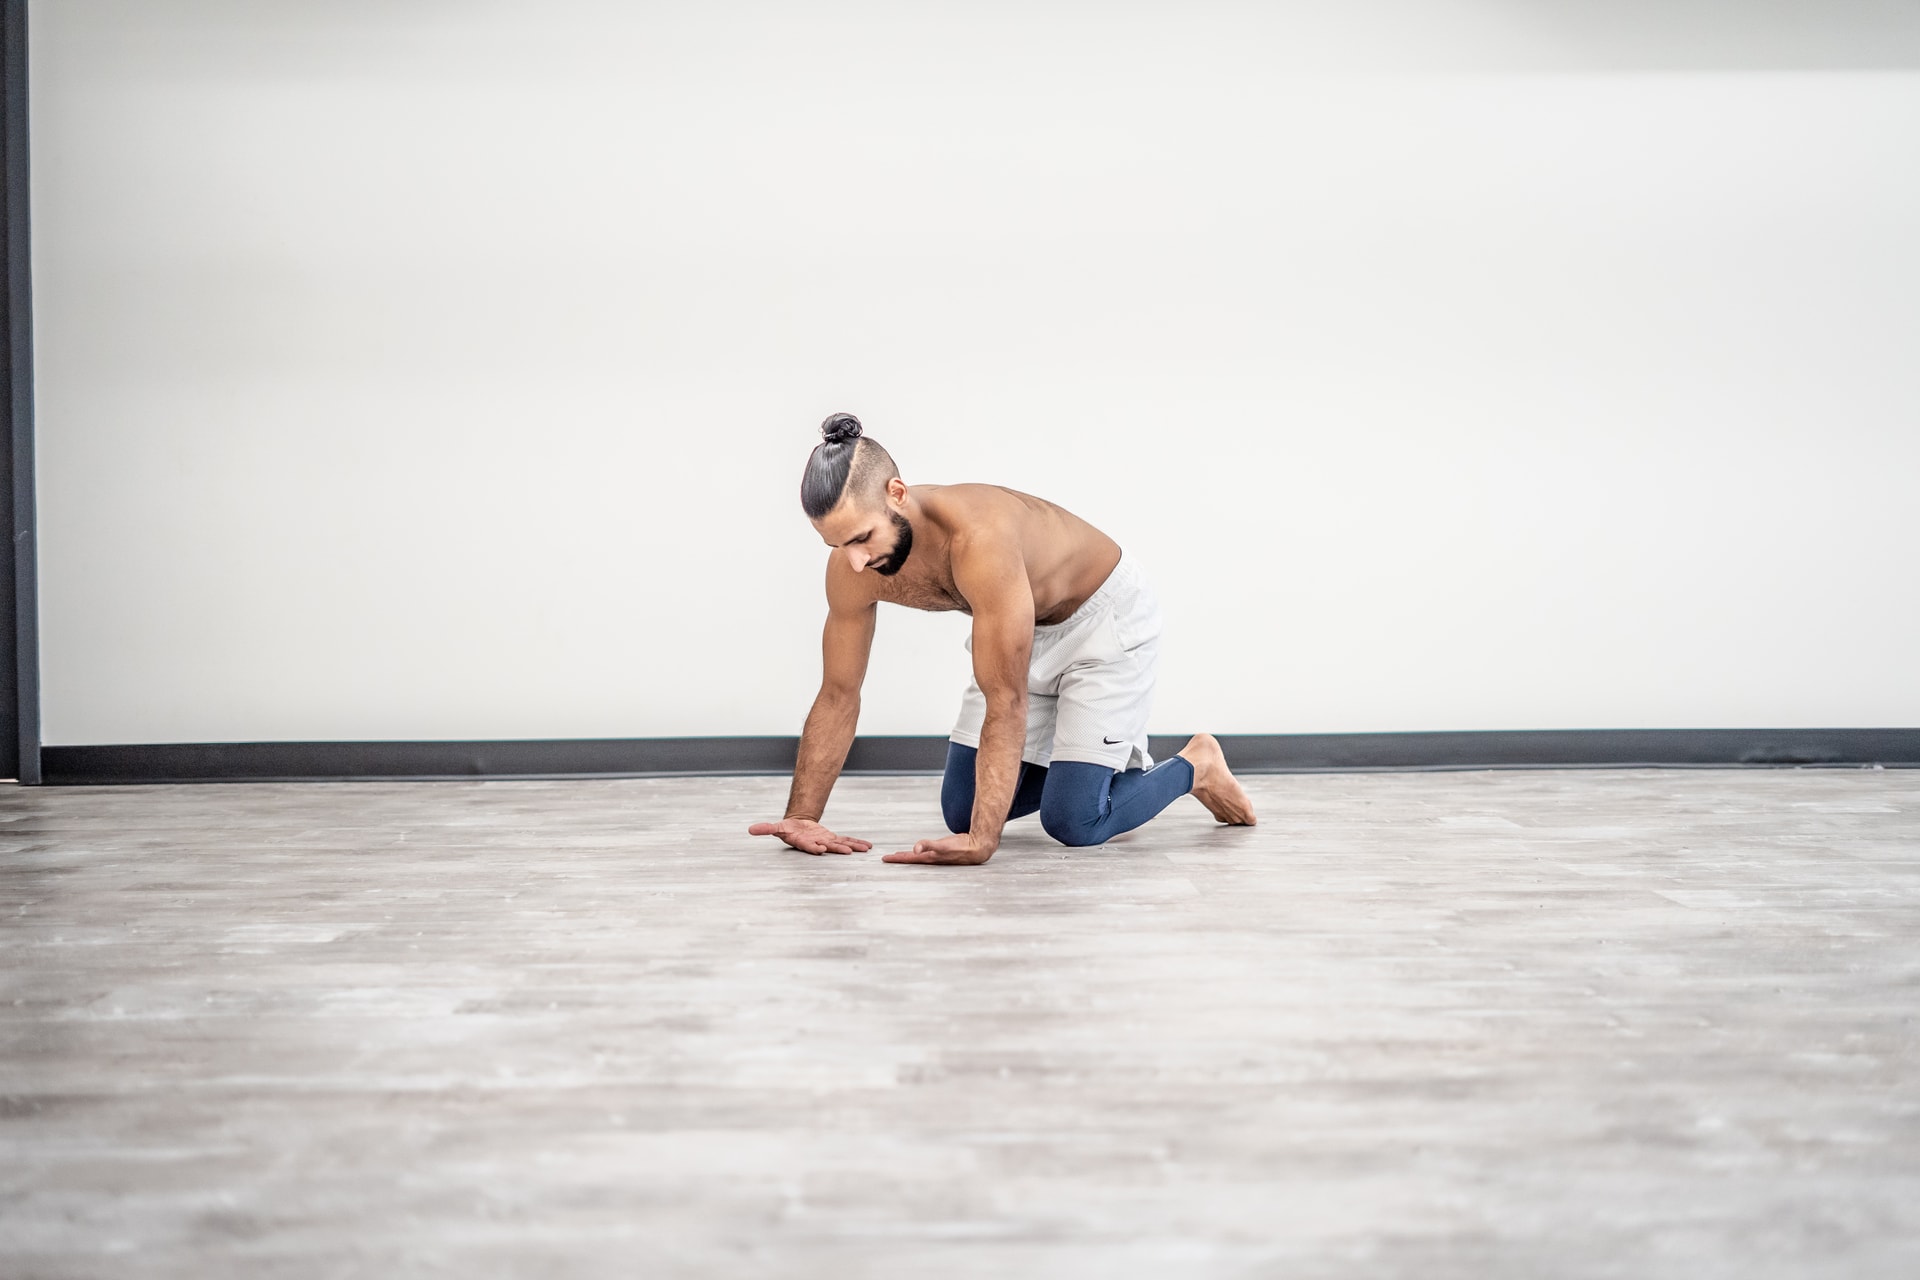
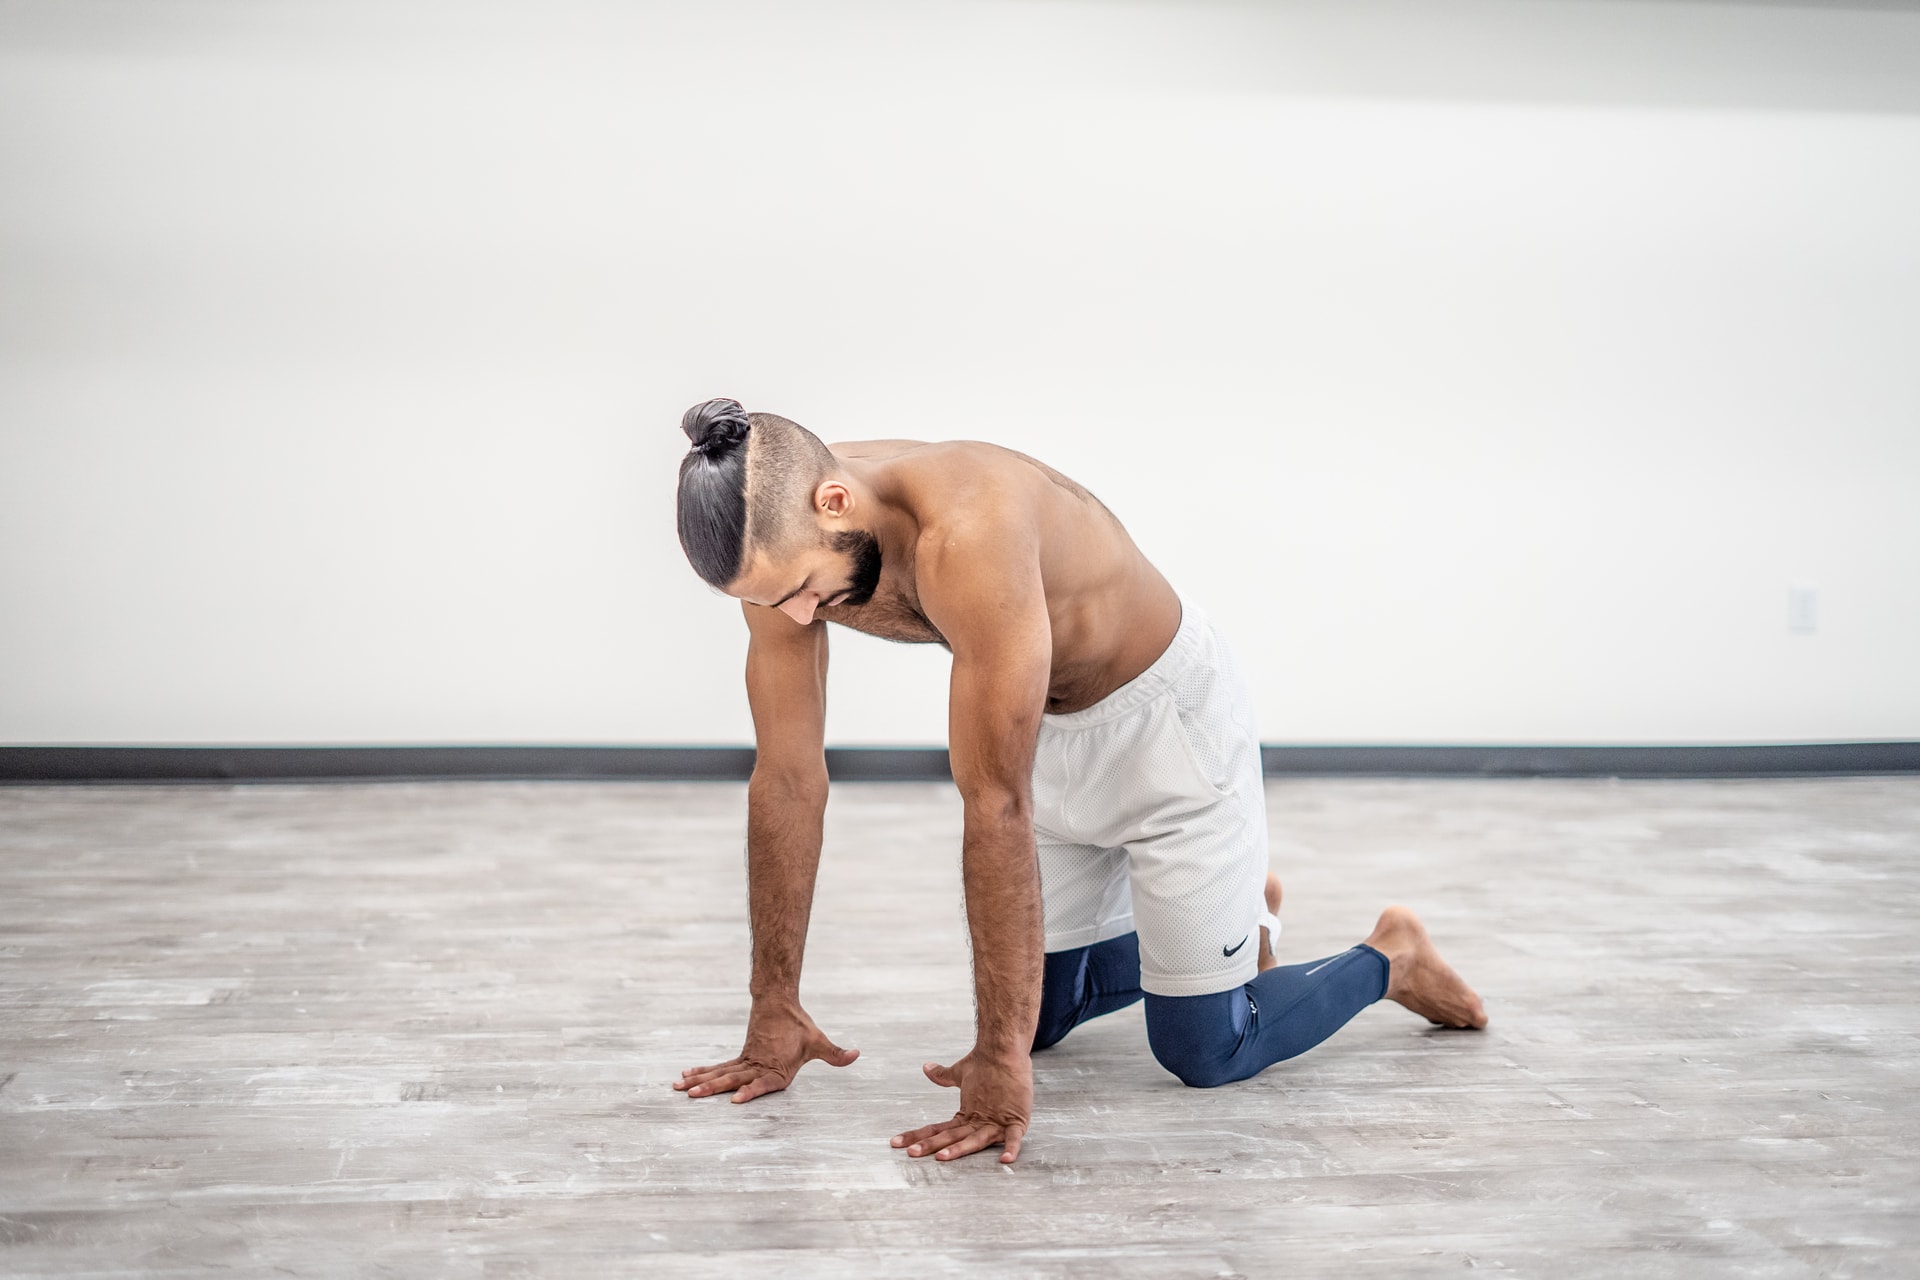
 2. Set up in your standard table top position with palms facing down. Slowly shift weight into your fingers and lift the palms of your hands off the ground then slowly lower them back down. For more of a challenge you can shift forward and apply more weight to the fingers. Repeat this exercise 10-20 times per day and you will start to see a significant improvement in your hand/wrist strength.

 Handstand Hops With Props
In order to hold a handstand for an extended amount of time you will need to make sure the core muscles are engaged and stable. This exercise will help build the muscle memory and strength for consistent core engagement.
1. You will start off in your standing split position with a block or towel placed between the thigh and hip (you can use just about any small object in place of a block, you just want something to grip between the thigh and hip).
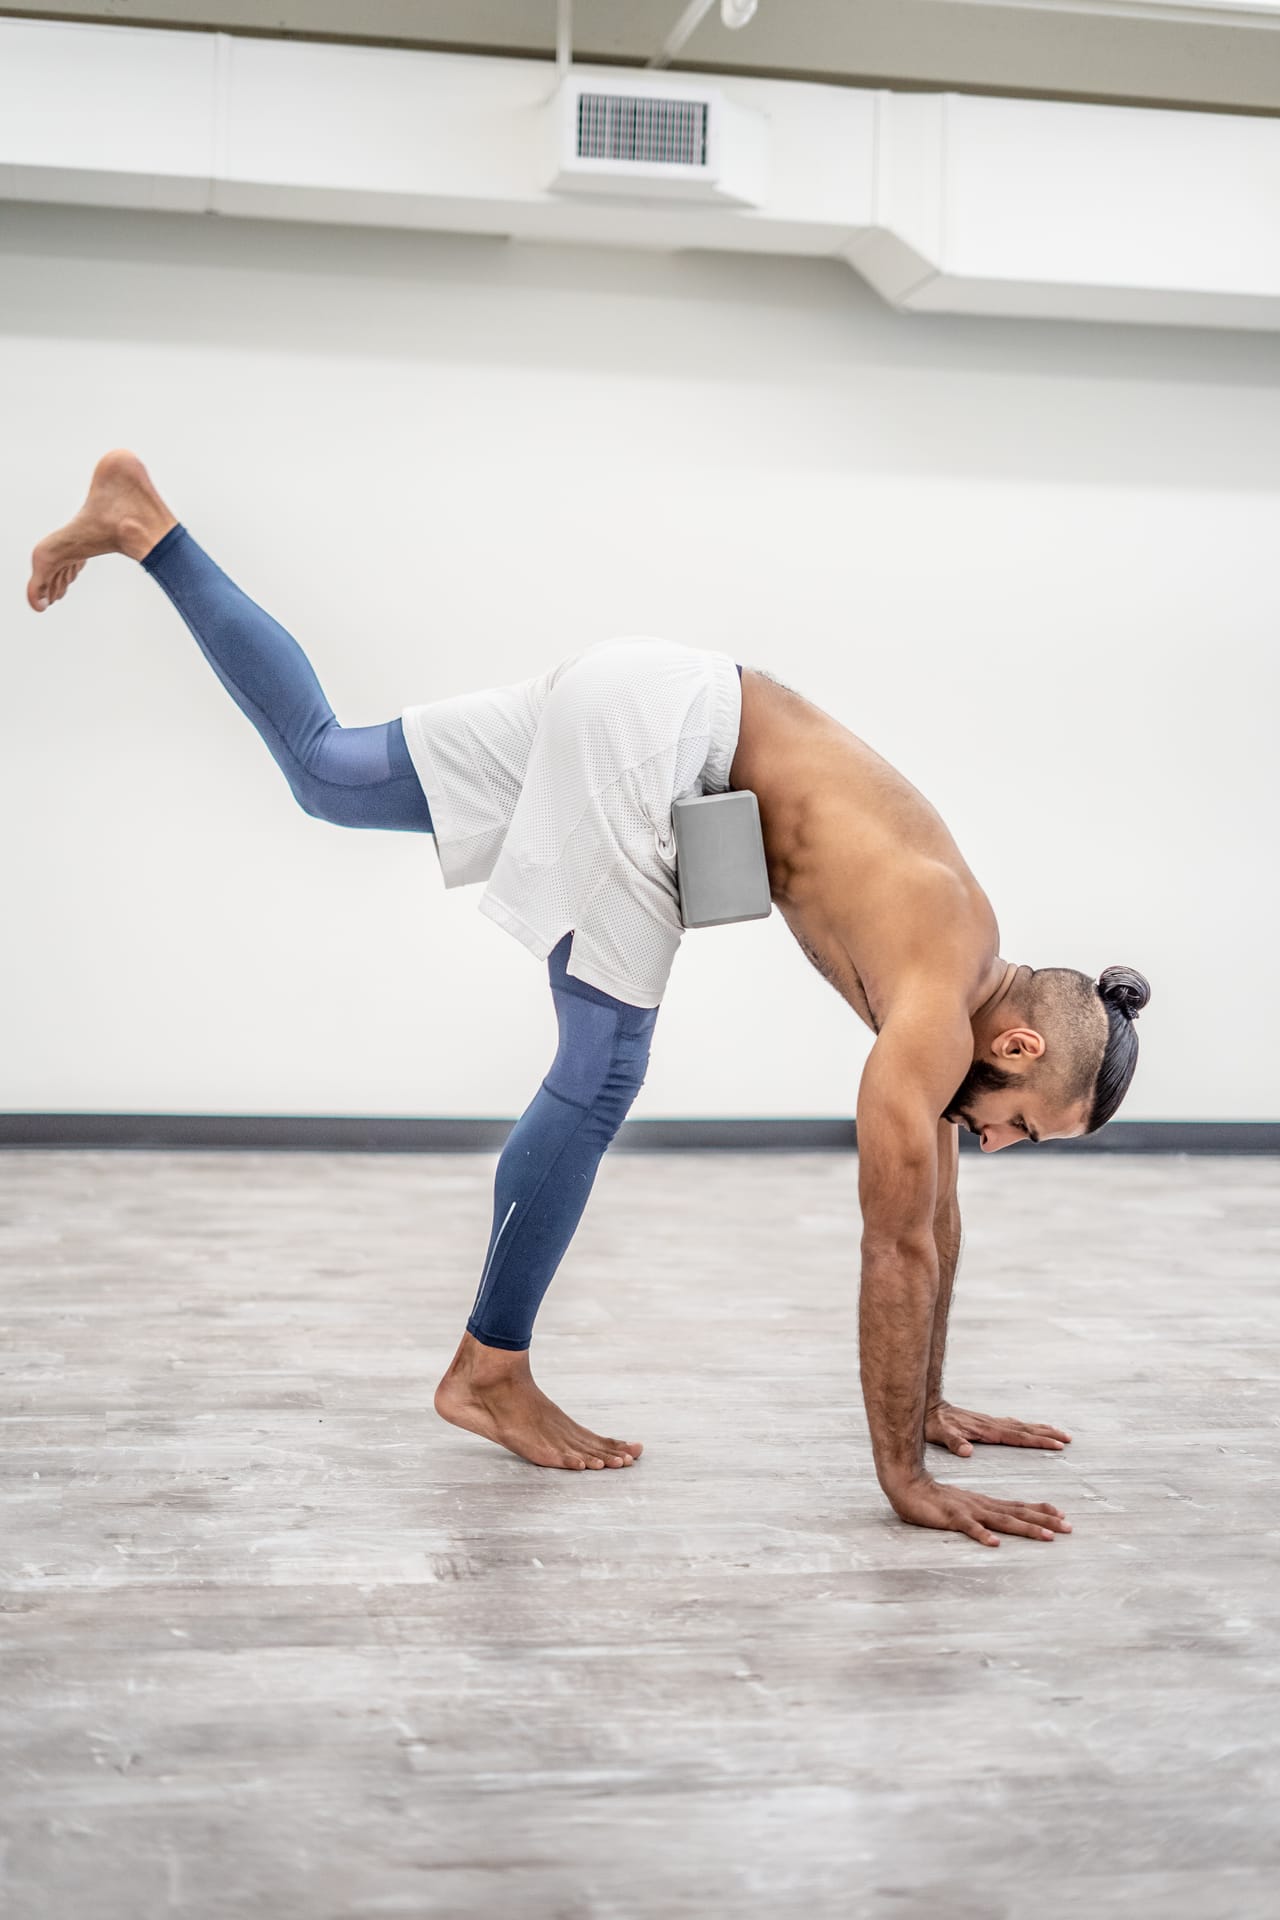 2. You’ll bend into the leg holding the block or towel then attempt to kick up into a modified handstand position. Inhale when you kick up (don’t forget to breathe). While doing this try to pull the thigh towards the stomach and make sure the block doesn’t fall to the ground.
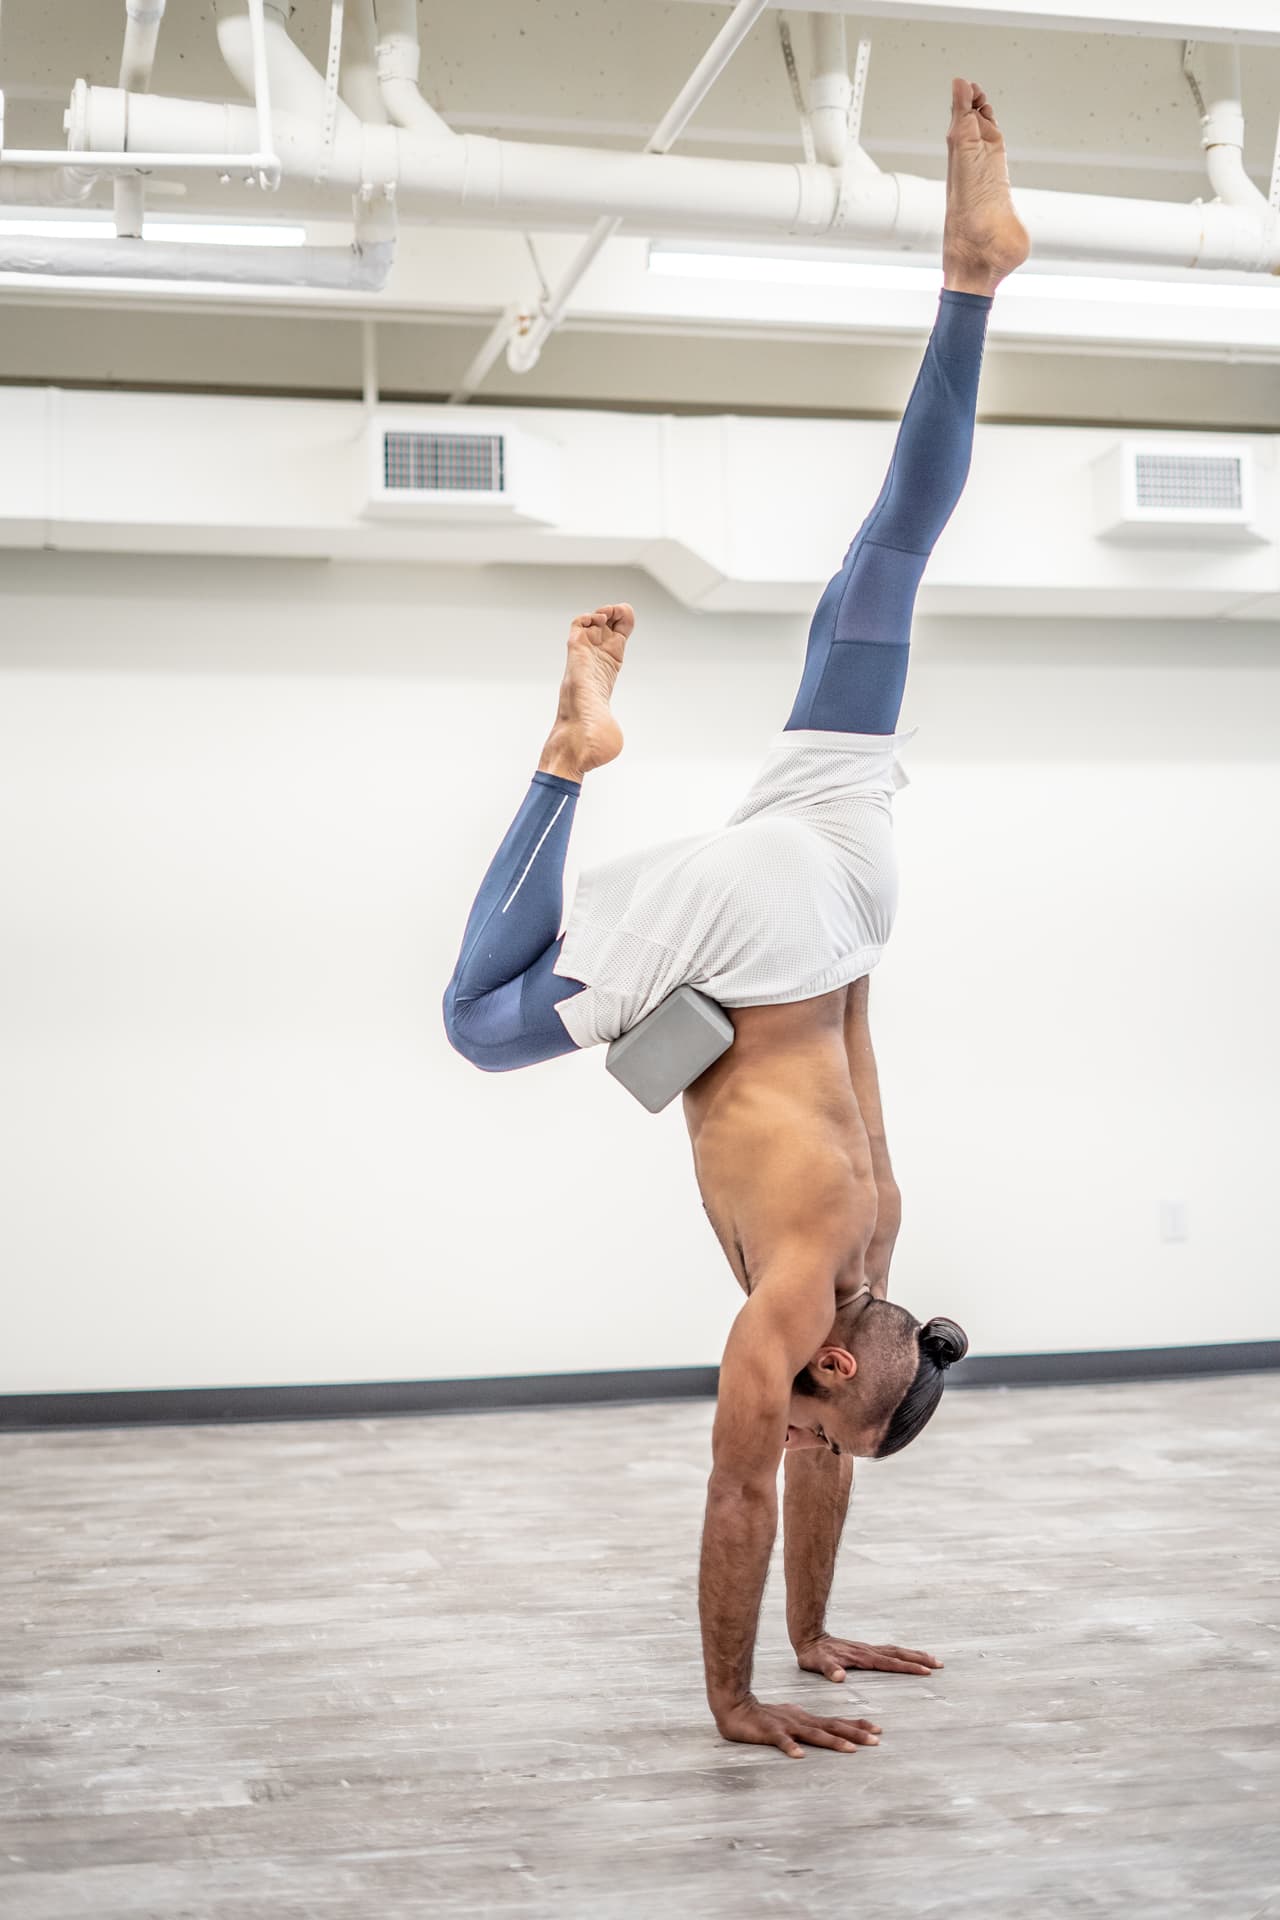 3. Once you kick up to the handstand position you try to hold it. This exercise can be repeated 5-10 times per leg (make sure you do both sides & everyone has a bad side so don’t be hard on yourself).
This exercise will train the body to engage the core muscles when entering the handstand position. You may struggle with this exercise at first, but the core strength will develop over time. This exercise will also help prevent you from developing a banana back handstand (You want to avoid the banana back… I spent months trying to fix banana handstands and wish I would have practiced this exercise then).
L-Handstand Against Wall
This exercise combination will strengthen the shoulders and get you comfortable with stacking the joints. You may have seen people (or you’ve experienced) kicking up for a handstand holding it for a second and then falling back down. Often times this happens because the joints aren’t properly stacked, in order to find balance in a handstand it’s important to find the proper alignment, this means the shoulders, hips and ankles are all in a straight line. If the joints aren’t properly stacked the handstand becomes much harder to hold and can lead to bad handstand habits. This drill will help you become familiar with body positioning and alignment.
1. You want to find a wall then come down to a table top position with you feet against the wall. Next, slowly walk your feet up the wall until your body forms an upside down L “or a 90° angle” with the wall. At first this position can be very uncomfortable but its important to remember to breathe and keep the muscles engaged.

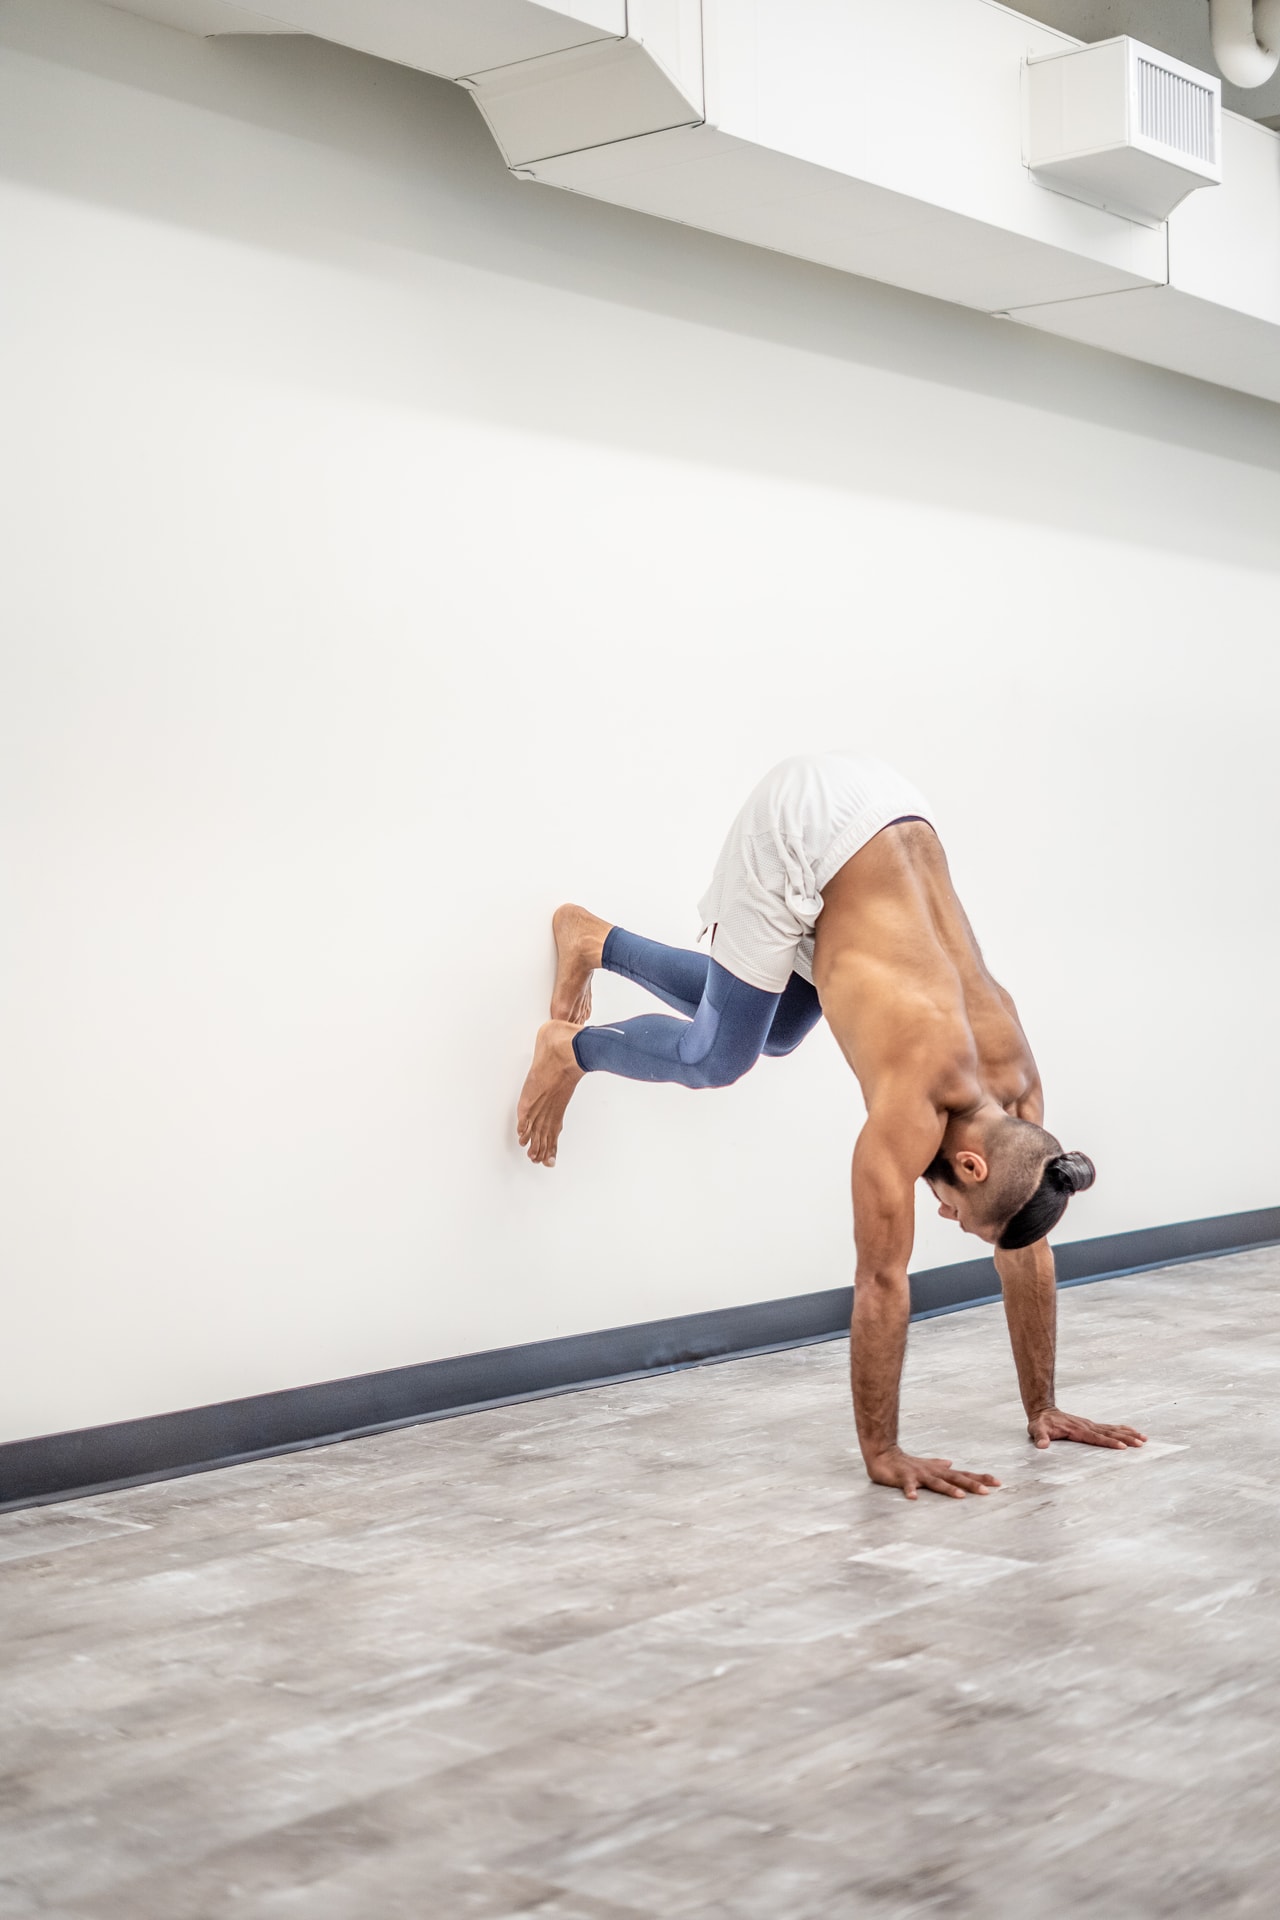
2. You can practice holding here, this will develop shoulder strength and endurance. If you’re comfortable holding in this position you can move onto the next step.
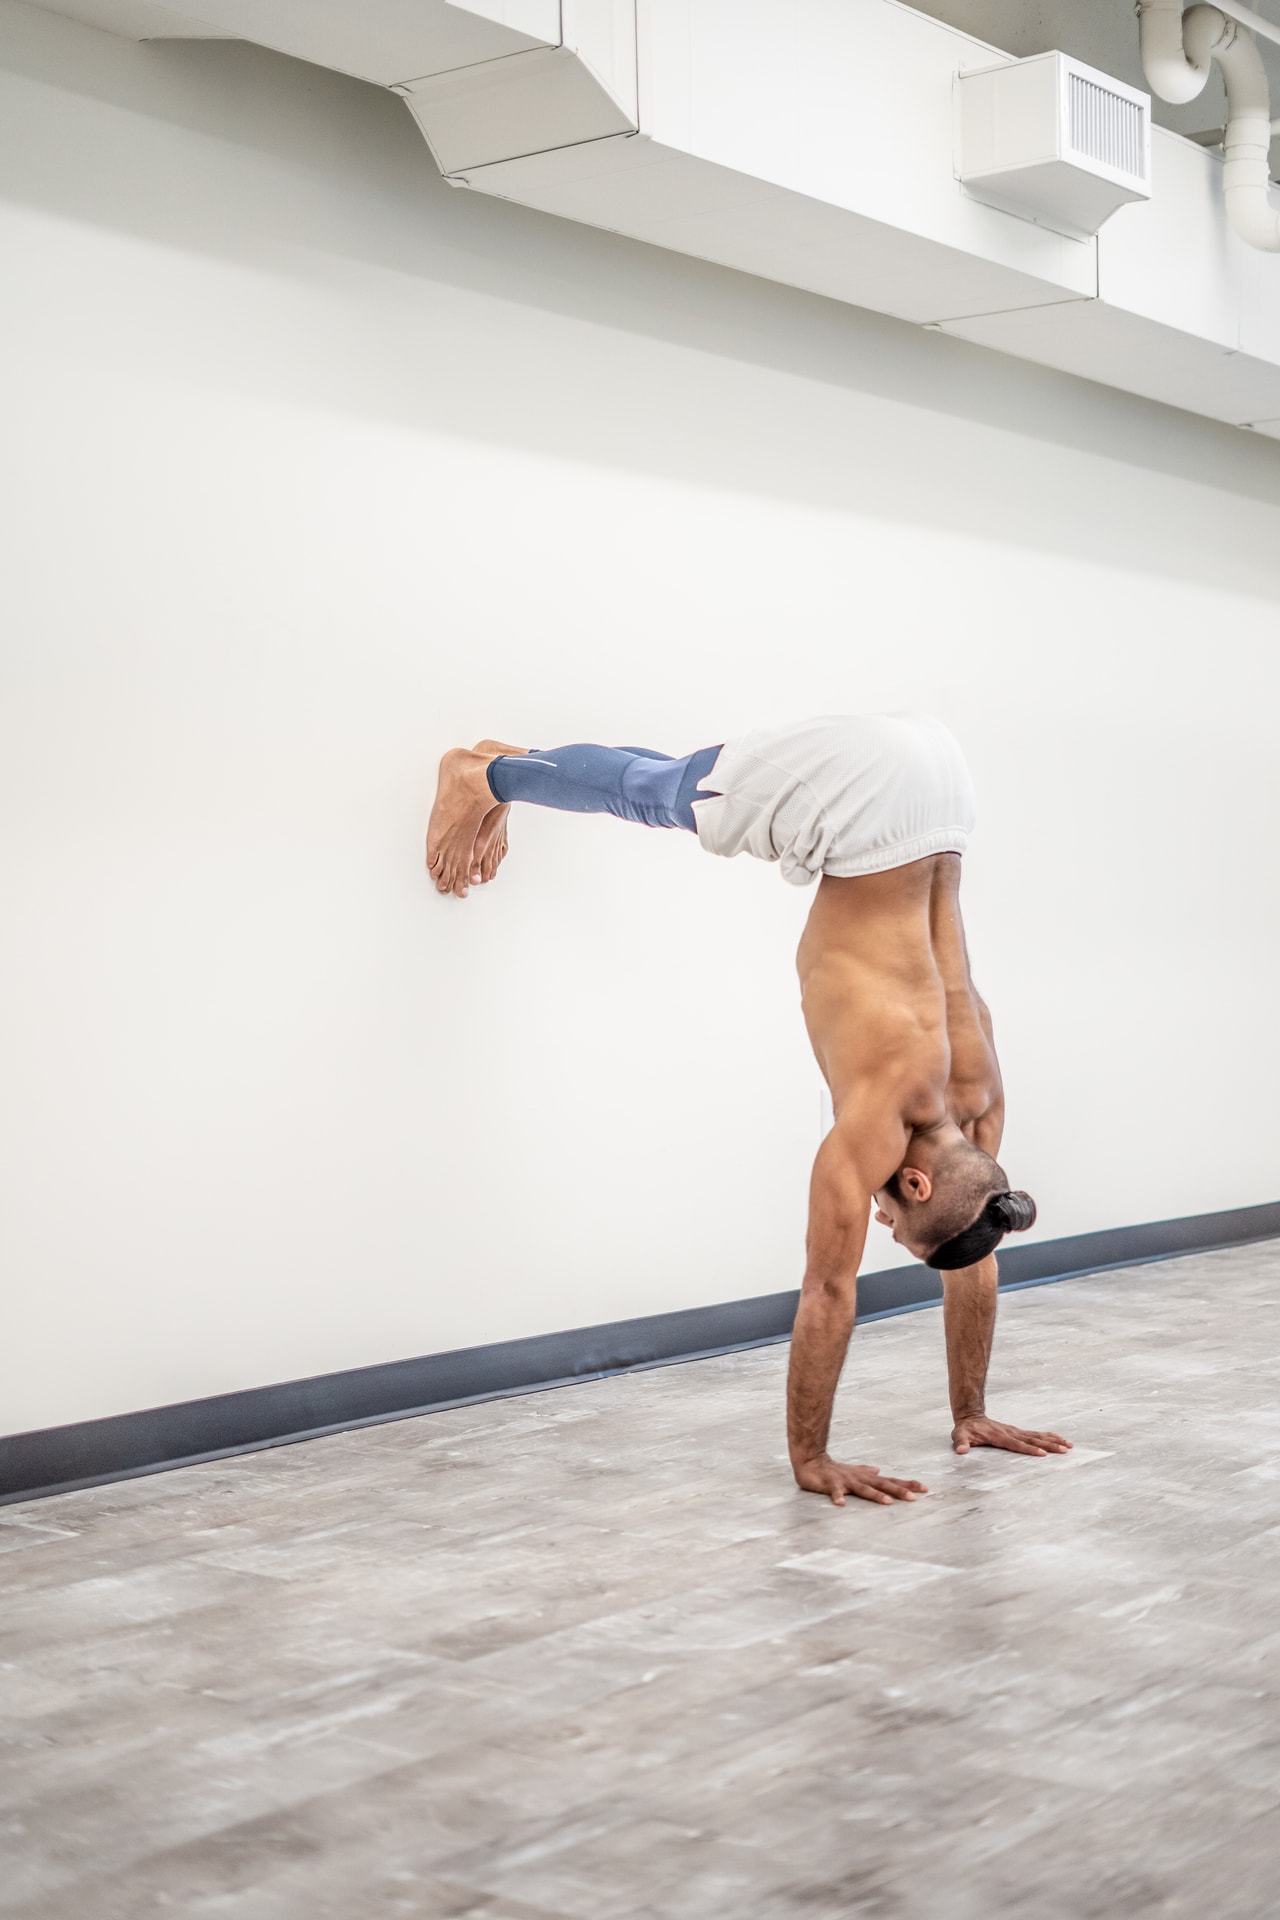 3. Keep one foot against the wall and slowly lift the other leg and point the toes towards the ceiling. Flex the foot that’s pressed against the wall until only the toes are touching, next slowly push away from the wall. Now you should be in a L-Handstand shape.
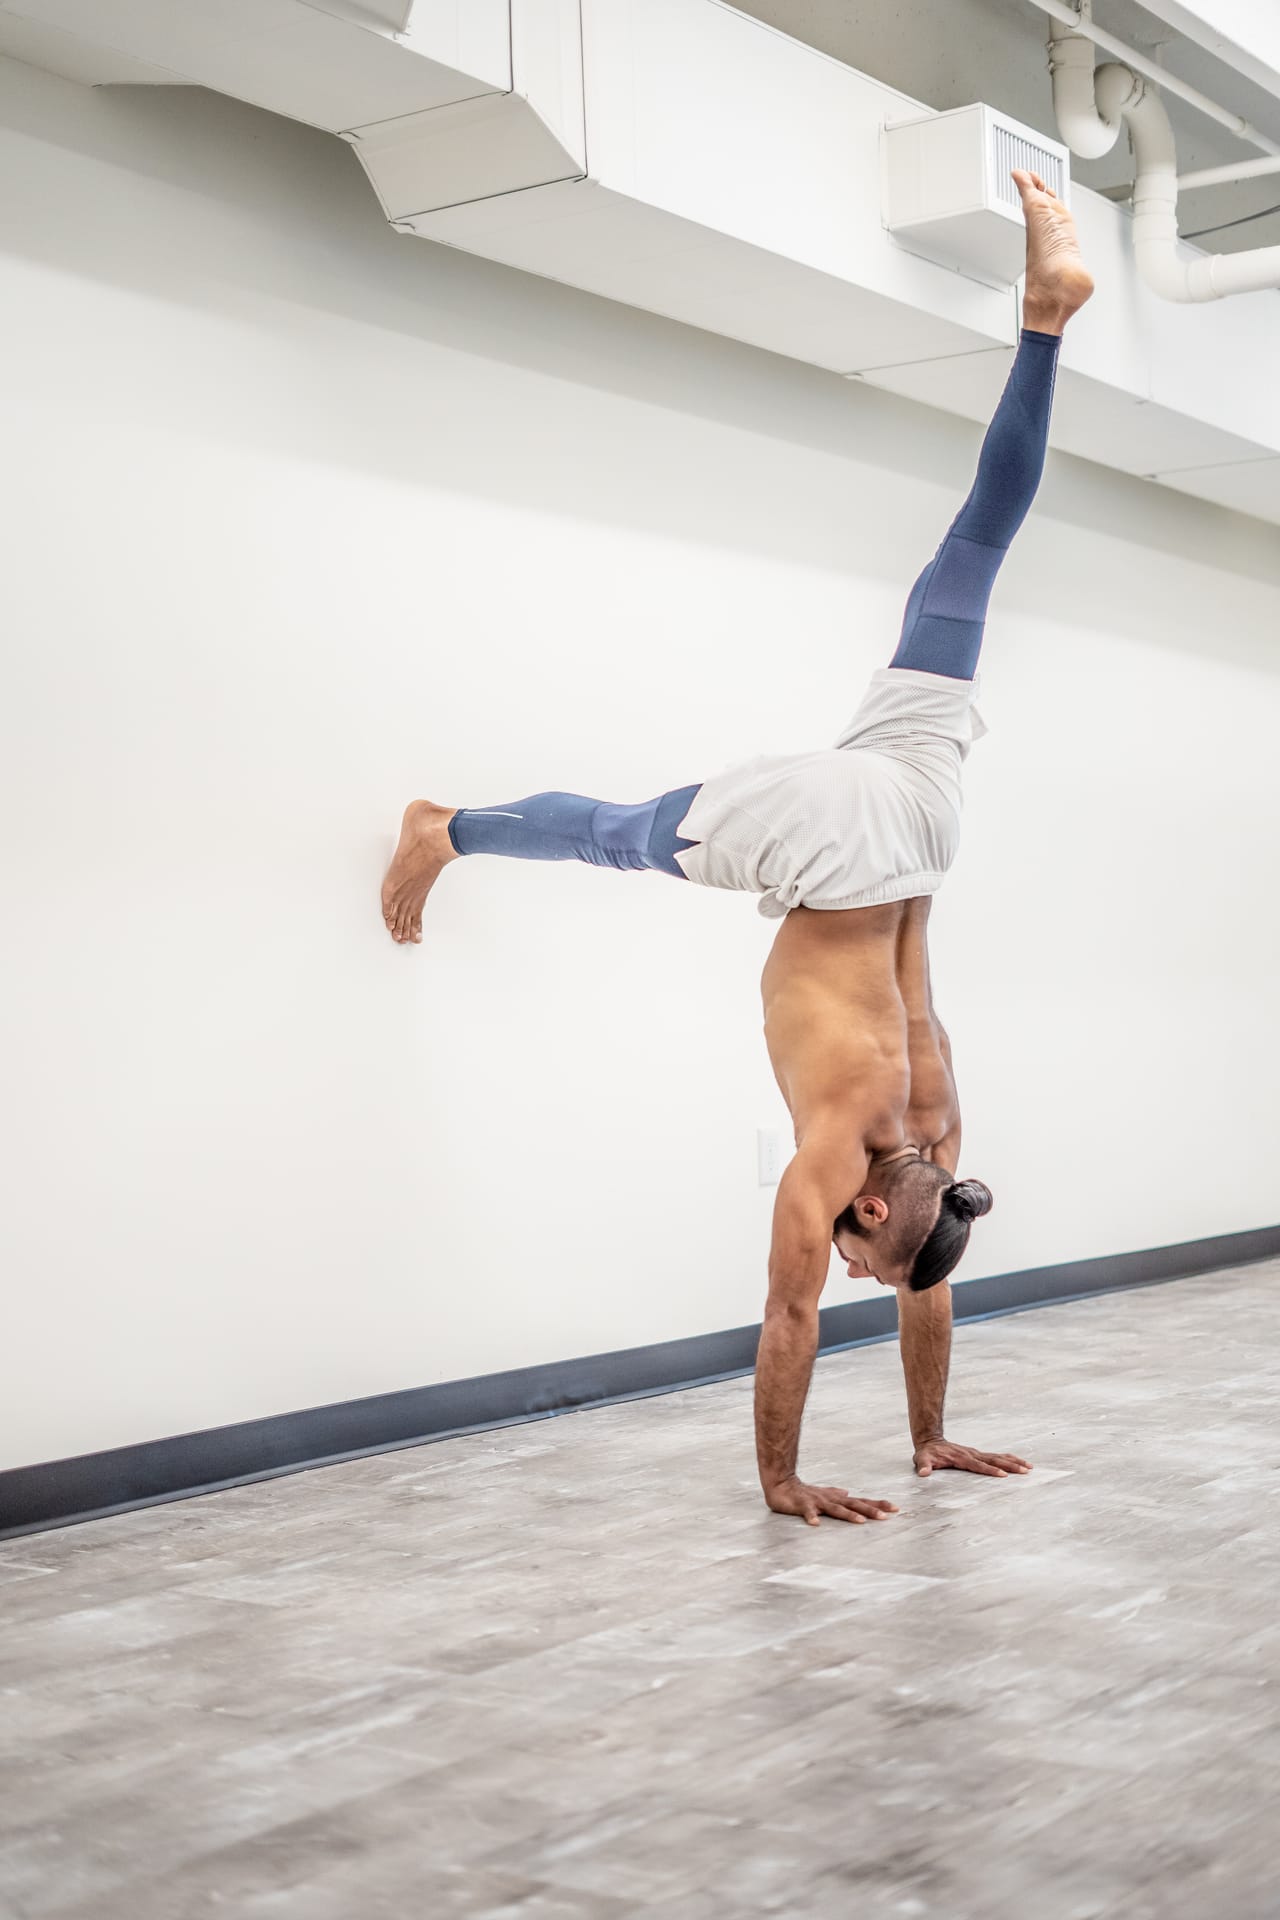 4. Practice slowly pushing away from the wall and holding the upside down L shape. It’s important to alternate legs, this will help prevent you from developing an imbalance.
 Conclusion
These drills are a great way for you to get started on your journey to handstand. When I first started practicing I struggled to get my body into the proper alignment, but I found that by practicing these drills and attending Rocket Yoga classes I was able to improve my alignment. The classes offered me a chance to practice my inversions and receive feedback and hands-on assists from a teacher. If you would like some feedback or assists you can practice with me at The Space Thursdays at 6:30pm, and Saturdays at Carolina Yoga at 11:00am. I’m also offering some foundational inversion workshops in 2019. In these workshops you will learn safe and accessible ways to become stronger and more confident in inversions such as handstand, forearm stand, and tripod headstand. You’ll learn how to fall, practice drills to build strength and play with new variations and transitions. These workshops are open to all levels, you can expect to breathe, sweat, tap into your inner strength and learn to fly. I hope to see you there!!
Rocket Inversion Workshop 1 – January 12 1-3pm
Rocket Inversion Workshop 2 – February 2 1-3pm
Rocket Inversion Workshop 3 – March 9 1-3pm
Sign-up for class at gurveeryoga.com or sweatnetclt.com ! SweatNET members can login to the website and save $5!